Type a prompt, hit generate, and something quietly decides how your image gets built: the sampler. Most people never touch it. They accept whatever the interface defaults to and blame the prompt when the result looks mushy or plastic. That’s a missed opportunity. The sampler — and the step schedule paired with it — is one of the few dials that changes the character of an image without changing what’s in it.
Here’s the thing worth internalizing: two runs with the identical prompt, seed, and model can look meaningfully different depending on which solver walks them from noise to picture. One reads crisp and a little clinical. The other has soft, painterly edges that feel closer to a hand. Same words. Different brush.
What a sampler actually does
A diffusion model starts with pure static and removes noise in steps until an image emerges. But the model doesn’t hand you a finished picture at each step — it hands you an estimate of the direction toward a clean image. Something has to decide how big a jump to take from one step to the next, and how to correct course along the way. That something is the sampler, sometimes called the solver, because underneath it’s numerically solving a differential equation.
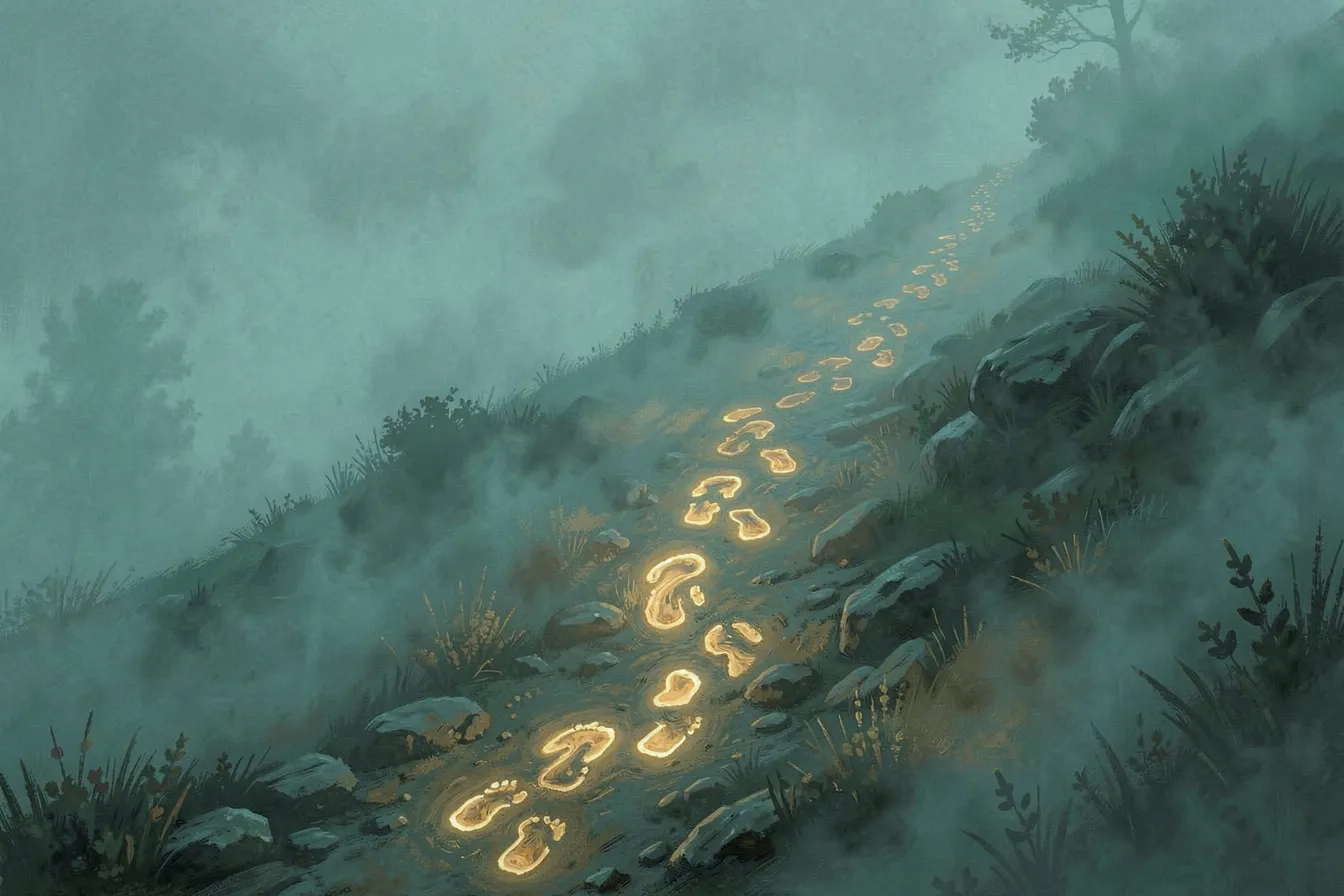
Think of denoising as descending a hill in fog. The model tells you which way is downhill. The sampler decides your stride length and whether you double-check the slope before committing. Take reckless strides and you overshoot. Take tiny careful ones and you arrive, eventually, but you’ve spent a lot of steps getting there.
Ancestral versus deterministic: the split that matters most
The single biggest fork is whether a sampler is ancestral or not. You can usually spot the ancestral ones by the letter a in the name — Euler a, DPM++ 2S a. These inject a fresh dose of random noise at every step. The practical consequence: they never fully settle. Add more steps and the image keeps shifting rather than sharpening toward one fixed answer.
That sounds like a flaw. It isn’t, necessarily. Ancestral samplers tend to produce softer, more organic textures and a bit of pleasant unpredictability — the kind of variance that reads as “made by a person who wasn’t being precious.” Illustrators and concept artists often reach for Euler a for exactly that reason.
Deterministic samplers — Euler, DDIM, DPM++ 2M, UniPC — do the opposite. Given the same seed they converge on one stable image, and more steps sharpen it toward that target instead of wandering. If you need reproducibility, or you’re iterating on a fixed composition and want to change one variable at a time, deterministic is the honest choice. You can’t do controlled experiments on a moving target.
The workhorses, and why people trust them
A few samplers have earned their reputations. DPM++ 2M Karras is the one you’ll see recommended more than any other, and for good reason: it hits clean, detailed results in roughly 20 to 30 steps, which is fast. The “Karras” half refers to the noise schedule — how the noise levels are spaced across the steps. Karras spacing front-loads the important work and eases off near the end, and it tends to squeeze better quality out of fewer steps. Sampler and schedule are two separate choices, even though interfaces often bundle them into one dropdown.
DPM++ SDE Karras pushes detail even harder but costs more compute and can tip into over-sharpened, crunchy territory. DDIM is the old reliable — fast, stable, a touch soft, and forgiving at low step counts. UniPC is the newer efficiency play: genuinely usable results at 8 to 12 steps, which matters when you’re generating in bulk or working on a modest GPU.
Then there are the turbo and lightning models, which change the rules entirely. Distilled to run in 1 to 8 steps, they demand specific samplers and schedules to work at all. Feed one 30 steps of DPM++ and you’ll get worse output than at the 4 steps it was built for. Match the sampler to the model, always.
Steps: the dial everyone overshoots
More steps does not mean a better image. This is the most common misconception I run into. Past a certain point — often around 25 to 30 for a good deterministic sampler on a standard model — extra steps buy you almost nothing but a longer wait. The gains flatten hard. I’ve watched people run 80 steps out of superstition, doubling their render time for a difference no one could pick out in a blind test.
The smarter move is to find each sampler’s floor. UniPC might look complete at 10 steps where DPM++ 2M wants 25 and Euler a keeps evolving no matter what you give it. Knowing those numbers for the samplers you actually use is worth more than any prompt trick, because it directly buys back time — and time is what lets you try more ideas.
How to test without fooling yourself
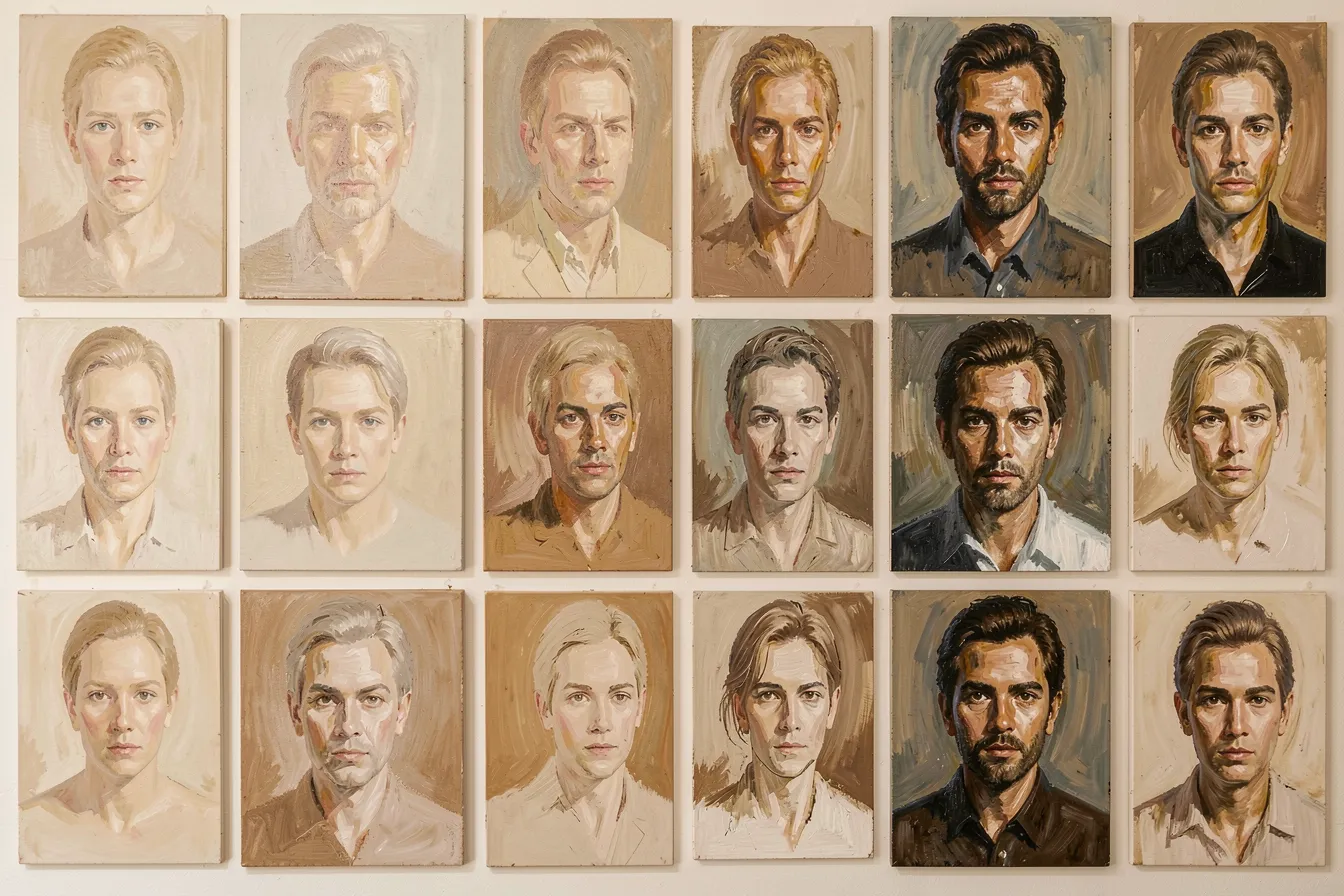
Lock everything. Same prompt, same seed, same step count, same model. Then generate an X/Y grid varying only the sampler. Most serious interfaces — Automatic1111, ComfyUI, Forge — have a built-in grid tool for exactly this. When only one variable moves, the differences jump out: edge softness, skin and fabric texture, how contrast sits, whether fine detail holds together or dissolves into mush.
Do this once for a portrait, once for a landscape, once for something graphic and flat. You’ll notice the “best” sampler shifts by subject. Ancestral softness that flatters a painted portrait can smear the clean lines of a logo or an architectural render. There’s no universal winner, only the right tool for what’s in the frame.
Why this counts as craft
None of this is about chasing a single correct setting. It’s about knowing which knob does what, so the look on your screen is a choice you made rather than an accident you kept. A painter picks a bristle brush over a soft one on purpose. Choosing DPM++ 2M Karras for a sharp product shot, then switching to Euler a for a loose, atmospheric illustration, is the same kind of decision — small, deliberate, and visible in the result.
Want to feel the difference firsthand? Run the same prompt through three samplers and put the results side by side. Once you’ve seen it, you can’t unsee it — and you’ll never leave the setting on default again. Start experimenting at ai-art-designer.com.
Images: AI-Designed
Dieser Beitrag ist auch verfügbar auf:
 English